Activity Add & Manage — PRM
Product Guide Library > PRM > Activity Add & Manage
Create & manage activities to help track liaison efforts.
Permissions & Restrictions
Permissions
Admins: Can add, view, edit & delete all activity records.
Full Users: Can add & view all activity records. Full users can edit and delete activities assigned to them or their team.
Standard Users: Can add & view all activity records. Standard users can edit or delete ‘My’ activity records.
Limited Users: Can add activities. Limited users can view, edit, or delete ‘My’ records.
Read-Only Users: Can view all activity records. Read-only users do not have permission to add, edit, or delete activities.
Term Definitions
Prerequisite Activity: An activity that needs to be completed before you can start your assigned activity.
Dependent Activity: An activity that requires the prerequisite activity to be completed first.
Restrictions or Pre-Requisites
Be sure to set up your Activity Tags, Activity Types, and Activity Categories in Account Settings before creating new activities. For more help with this, see our guides titled:
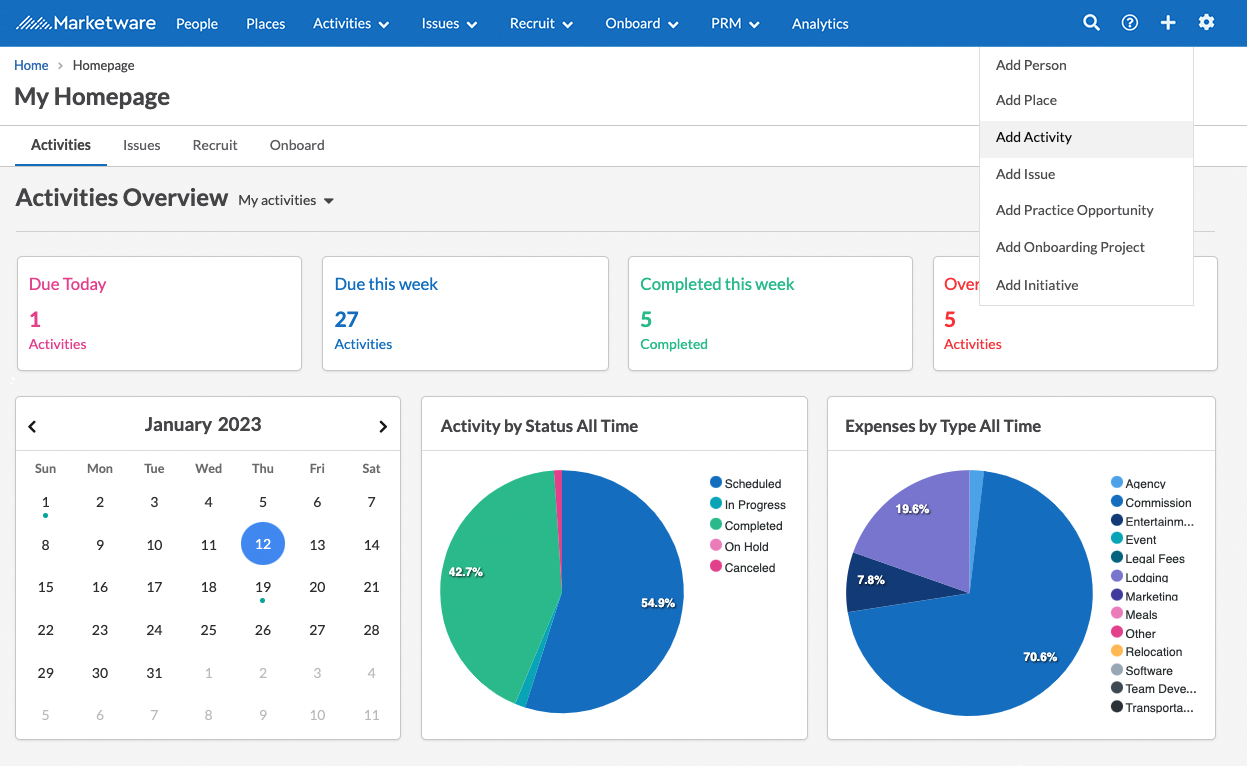
Add New Activity
- Click the ‘+’ action menu at the top right.
- Select Add New Activity.
- The Add Activity form will slide out from the right.
- Enter information for all required fields (indicated with a red asterisk).
- Click Add Activity.
New Activity Form Fields
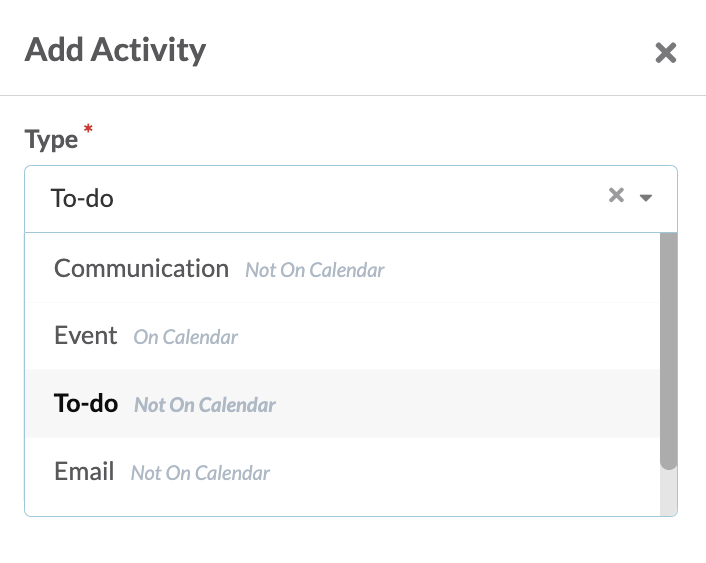
Type: Breakdowns & granularly reports on various activity efforts. 7 default options that cannot be deleted, but new types can be added in account settings.
- Communication: Any activity that involves communication
with the related record. - Event: An activity that would be on the calendar.
- To-Do: An activity that could be seen as a checklist item (default).
- Email: To identify activities created through email & email to app functionality.
Summary: Brief title of what the activity is. You can add more detailed information in the description field (toward the bottom).
Status: Indicates where the activity is in the completion cycle.
Scheduled: An activity that has been scheduled on the calendar, but no work has been done on it.
- In Progress: Activity that is being actively worked on.
- Completed: Any activity that is completely done. No further work is needed on this activity.
- On Hold: An activity that will be worked on later that has not been defined yet.
- Canceled: An activity that is no longer relevant or needed.
- Not Applicable: Usually applied to a templated activity, this status helps to identify an activity that is not relevant to a given provider within a flow.
Understanding Canceled, Not Applicable & On Hold: Activities with these statuses will not show on the activity home page. They will not be considered as ‘completed’, ‘incomplete’ or ‘overdue’ in the activity roll-up cards. Canceled, Not Applicable & On Hold activities will not be regarded as part of the completion totals for Providers in an Onboard Project, however, they will still be displayed in the activity list for reference.

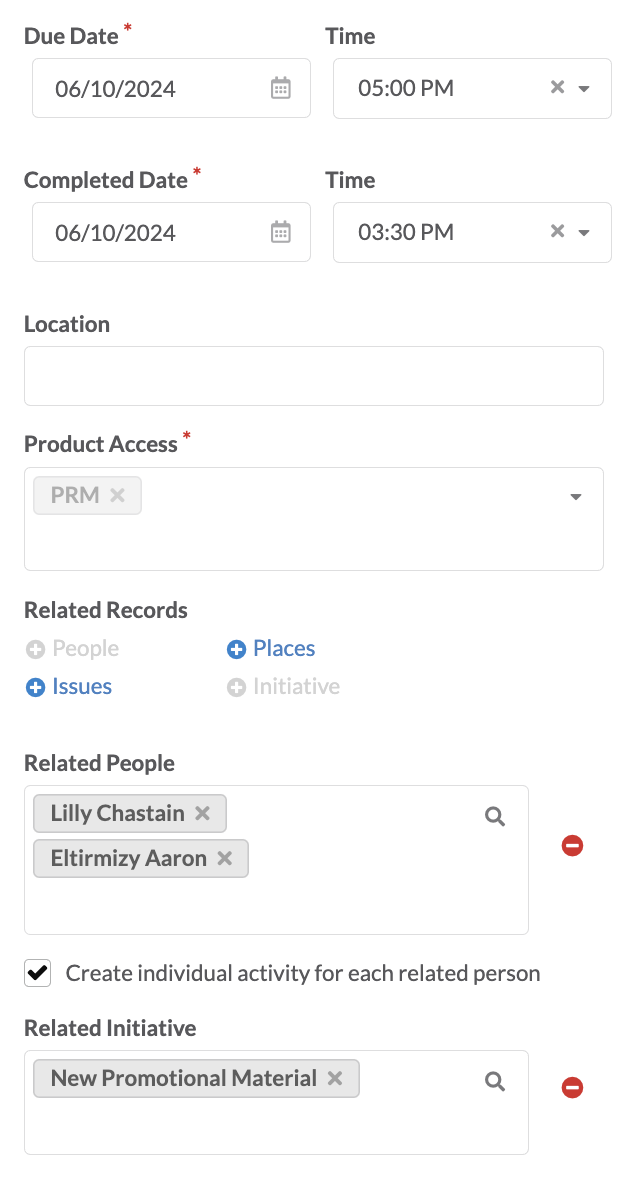
Due Date: The date the activity needs to be completed.
Completed Date: The date the activity was completed. This field only appears if the status ‘Completed’ is chosen.
Start Time: The time that an activity starts. This field only appears if an activity type is chosen that is ‘On Calendar’.
End Time: The time that an activity ends. This field only appears if an activity type is chosen that is ‘On Calendar’.
Location: Free text field to indicate where an activity will occur or did occur if not at a related place profile.
Related Records: Person, place, workflow (practice opportunity). Click the blue ‘+’ next to the record type you want to add.
- Person & Place: Users can add multiple to each activity as well as more than one option in each record type.
- Related Issue: Link an issue to the activity if the activity helps to resolve the issue.
- Related Initiative: Limited to 1 option and will tie the activity to the initiative. Any related people or places not already added to the initiative as members will be auto-added to the initiative and receive all initiative tasks.
Note: when relating an initiative, all related profiles (people & places) will create a single activity for each related profile and profiles will be added as members of the initiative if not already a member.
For example, an activity can have 2 related people, 1 related place, and 1 related project.
Top Tip: Click the option to create an activity per record when creating an activity with multiple providers and tracking activities per profile. Alternatively, you will create one activity for both records which will tie the activity across both records — any changes made to one profile will apply to the other.
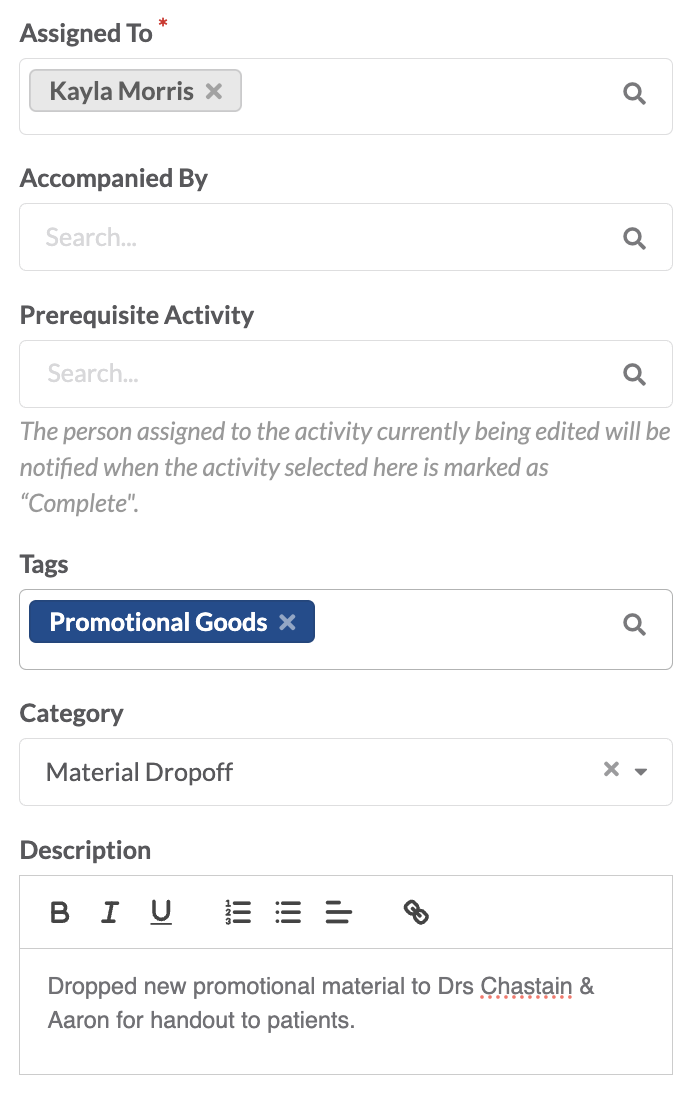
Assigned To: Person or people that are responsible for this activity.
Accompanied By: Person or people who accompanied the assigned user(s). This can be another user or person record.
Prerequisite Activity: Links to another activity that is required to be done before this activity can be completed. This is for informational purposes and to notify assigned users of this activity when the prerequisite is completed.
Tags: This is a custom field to help with delineating activities for reporting purposes. Be sure to add any relevant tags that need to be tracked before creating an activity. Tag options can be added in Account Settings.
Category: This is a custom field also used to sort activities for reporting purposes. Be sure to add any relevant categories that need to be tracked before creating an activity. Category options can be added in Account Settings. Categories become required if an initiative is related to the activity.
Description: Use this field to describe in detail anything important to this activity.
View Activity Details
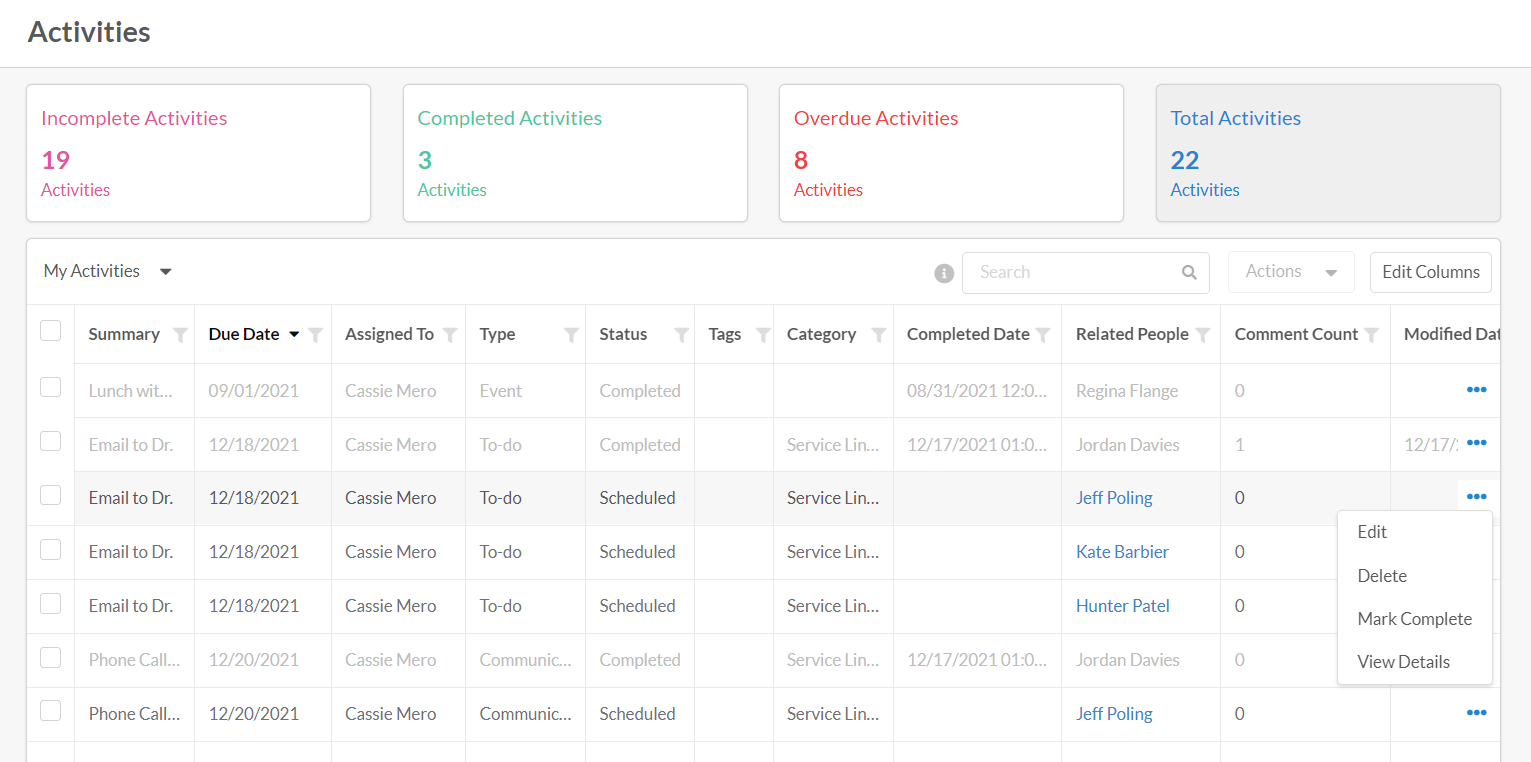
Activities can be viewed from various spaces within the application, including:
- Home page Activity Tab
- Activity List View
- Person or Place profile
- Initiative
No matter the location, viewing activity details are the same. Either click the line item for the activity or click the ellipses on the activity to view details.
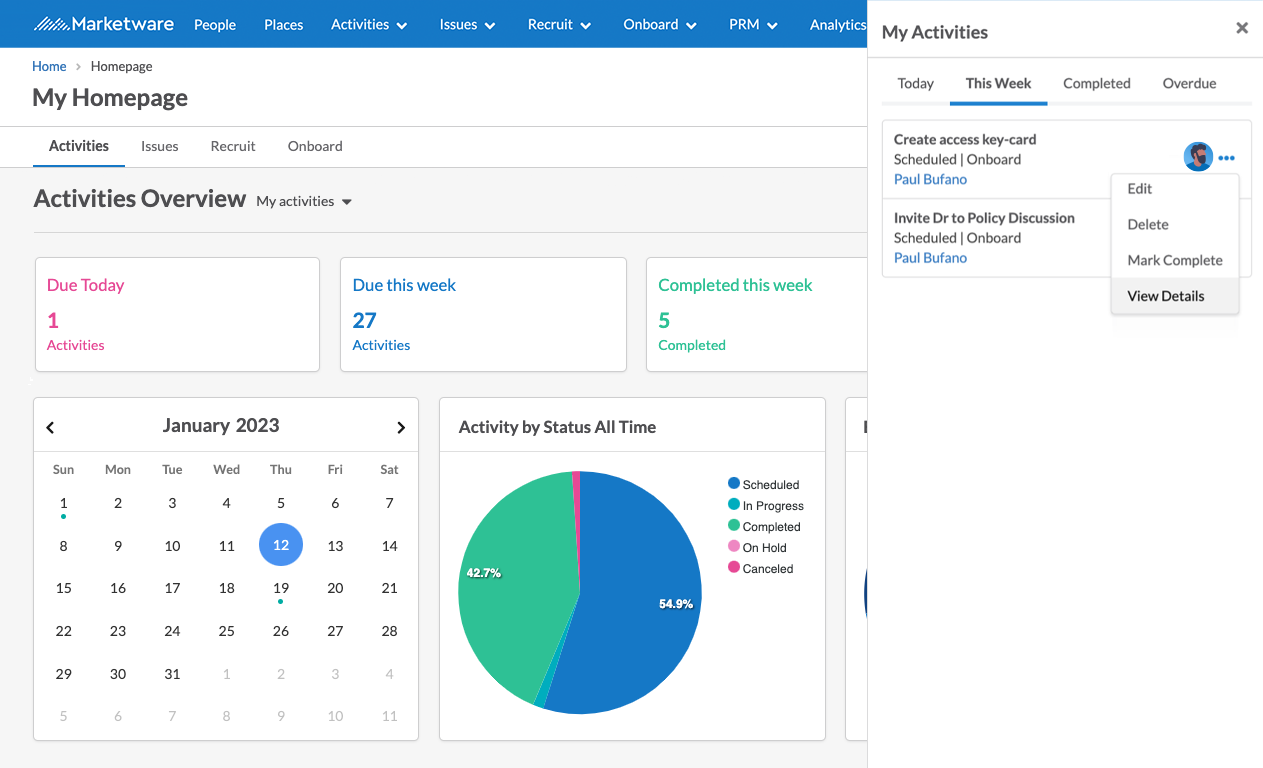
The details of an activity offer a review of information of the activity, allow users to add comments or view the history of actions against the activity. From here, linking out to the related records of the activity itself is possible.
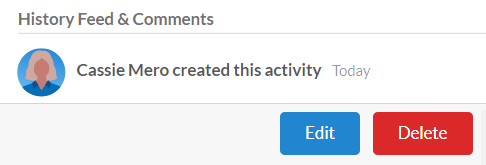
Learn more about History Feed & Comments →
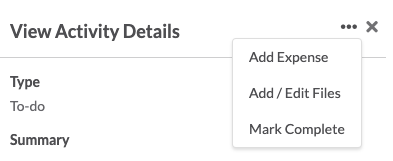
From the activity details slide out users can also opt to mark the activity as complete, add an expense, or even include relevant files on the activity.
Note: The files guide explains how files and the security of files work for a person record, however, the same applies to activities.
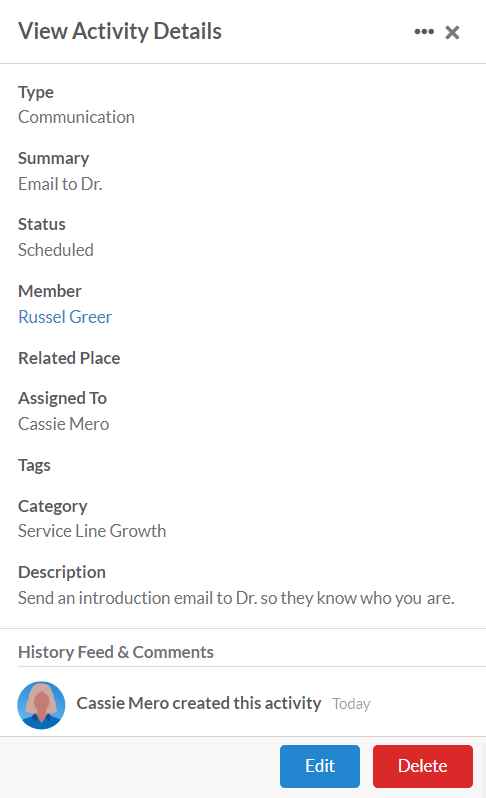
Edit an Activity
Editing an activity can be started in two different ways:
- From the view activity details panel, click the edit button at the bottom right corner of the form
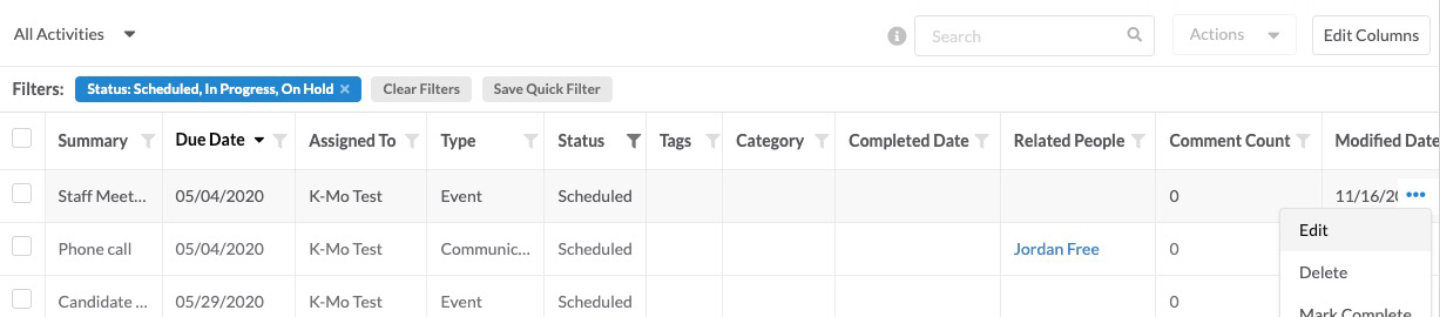
- From an activity list grid, select edit from the ellipses at the end of the line item
Unless the activity is created through email-to-app, all activity details can be edited.
Learn more about Email-to-App flow →
Delete an Activity
Deleting an activity can be done through the ellipses to the right of the activity or from View Activity Details slide out.
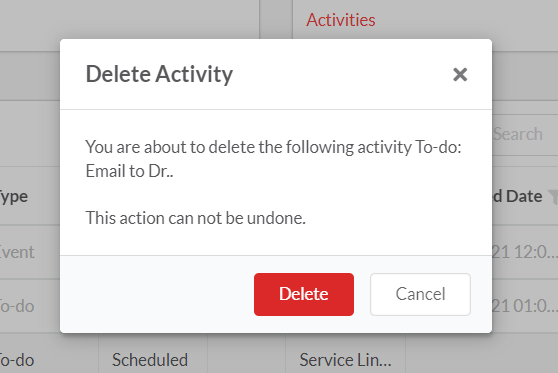
Click delete in the bottom right corner.
The system will ask if you are sure you want to delete an activity. Once an activity has been deleted it can’t be restored.
Product Guide Library

